
This post may contain affiliate links. Please read my disclosure policy.
If you’re looking for the ultimate crowd-pleasing appetizer, these Ham and Cheese Sliders are it! Soft, fluffy Hawaiian rolls, melty Swiss cheese, and savory layers of ham, all smothered in a buttery, garlicky poppy seed topping—then baked until golden and gooey. Ridiculously easy, dangerously addictive, and gone in seconds. Perfect for game day, parties, or just a casual lunch when you want something fast and delicious.

The secret to the BEST Ham and Cheese Sliders?
It’s all about getting the layers just right, making sure the cheese melts perfectly, and nailing that crispy, buttery topping. The ham needs to be savory and slightly caramelized at the edges, the cheese should stretch with every bite, and that golden, garlicky butter glaze? That’s what gives you those glossy, flavor-packed tops with just the right amount of crunch. Get all of this right, and you’ll never make sliders any other way!
Before You Start
- Use soft, squishy rolls – Hawaiian sweet rolls are perfect because they stay light and fluffy inside while crisping up beautifully on top. Brioche rolls work too, but don’t use crusty bread—it won’t give you that same pillowy bite!
- Don’t separate the rolls! – Slice them as one unit so they stay intact. This keeps the layers even and makes assembling a breeze.
- Layer the ham and cheese strategically – Always start with half the ham, then all the cheese, then the rest of the ham. This locks the cheese in the middle, so it melts perfectly without sliding out!
- Be generous with the butter topping – This isn’t the time to be shy. That buttery, garlicky glaze is what makes these irresistible. If there’s extra, just drizzle it over the sides—it’ll soak into the rolls and make them even better!
- Cover, then uncover – Baking covered first helps the cheese melt before the tops get golden and crisp. Uncover for the last 10 minutes to let that buttery glaze work its magic!
- Let them rest before slicing! – As tempting as it is to dig in immediately, letting the sliders sit for just 5 minutes helps everything settle, so the cheese doesn’t ooze out completely. Totally worth the wait!
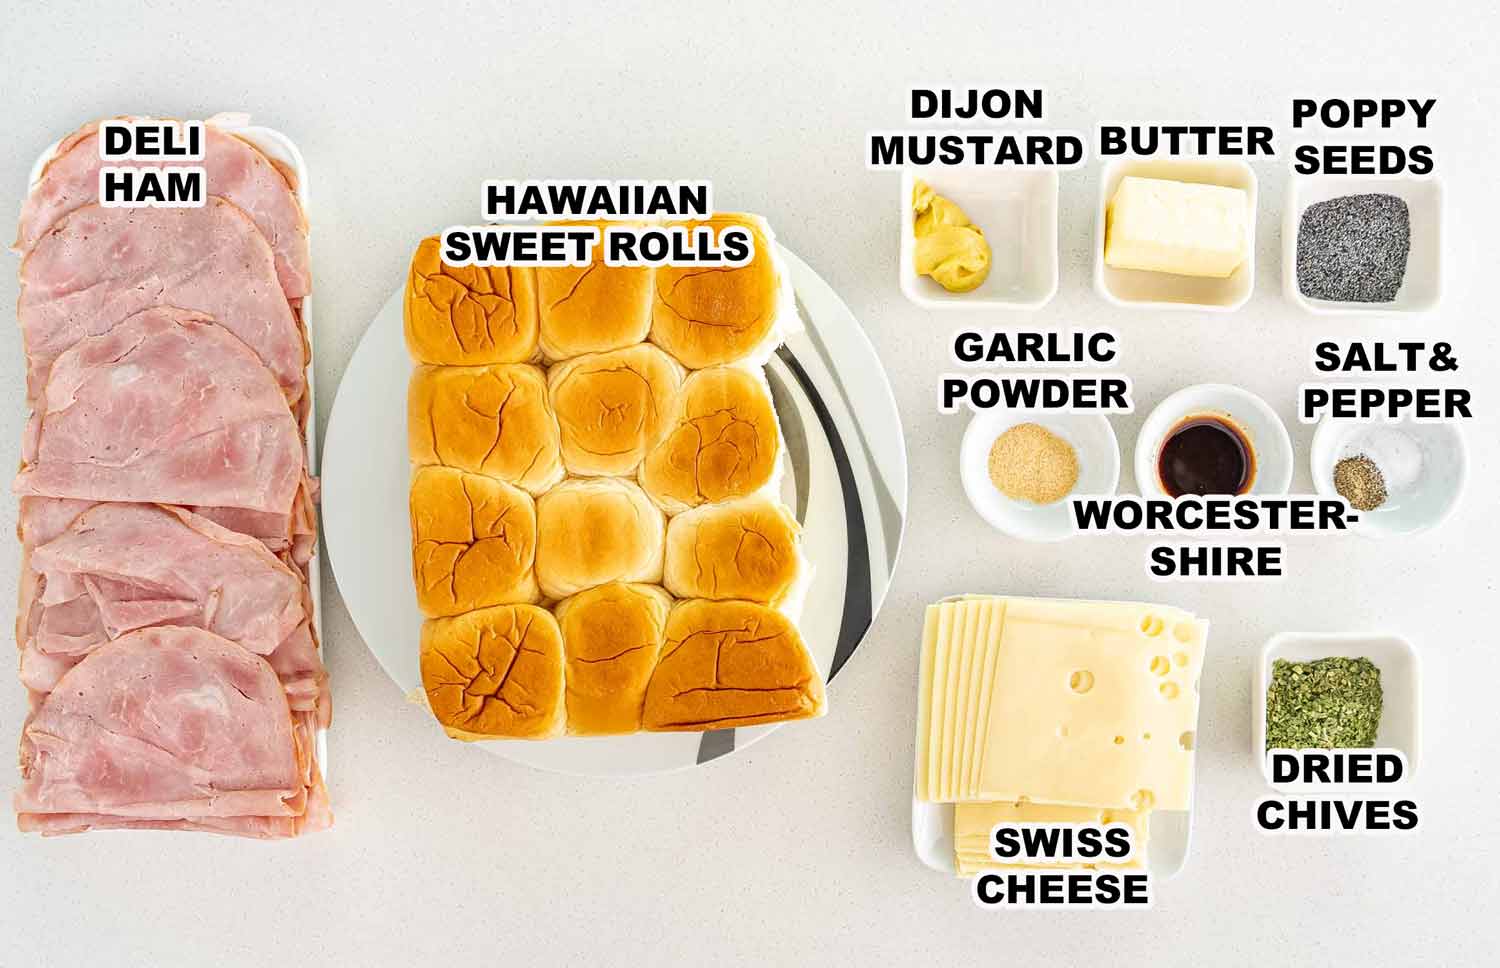
Ingredients You’ll Need
- Hawaiian Sweet Rolls – The slight sweetness makes these irresistible. If you can’t find them you can always make your own with my recipe here.
- Butter – I’ve used unsalted melted butter as a base for the butter sauce.
- Mustard – Dijon mustard is the perfect condiment to go with ham. Yellow mustard will also work if you’re not a fan of Dijon.
- Garlic – A little garlic powder really pops the flavor of the sliders.
- Poppy seeds – Poppy seeds for the butter mixture to provide a nutty flavor. Most people don’t realize they are also good for you as they’re rich in magnesium, calcium and fiber.
- Chives – The addition of dried chives are mild with a hint of onion, and will provide some nice color.
- Worcestershire – Using Worcestershire sauce in the butter mixture really amps up the flavor giving you that umami taste.
- Salt/Pepper – To me, almost every sandwich needs a little salt and pepper.
- Ham – I used thinly sliced deli ham but it’s a great use for leftover ham.
- Cheese – These sliders are fantastic when paired with Swiss cheese. If you prefer other cheeses, use that.

In a small bowl, whisk together melted butter, Dijon mustard, garlic powder, poppy seeds, dried chives, Worcestershire sauce, salt, and pepper. This is the magic mix! It soaks into the rolls, flavors the ham, and gives you that shiny, golden, bakery-style top.
Pro Tip: Make extra butter glaze if you love that extra drippy, buttery goodness. No one ever complained about too much flavor!

- Do NOT pull apart the rolls! Keep them together and slice them horizontally in one piece so you have a top and bottom layer.
- Place the bottom half into the greased dish, cut-side up.
- Layer half the ham, then all the cheese, then the remaining ham.This is key! Ham on both sides locks in the cheese so it doesn’t all slide out when melted.
- Place the top half of the rolls back on.
Why this layering? Ham above and below the cheese ensures even melting, while keeping the rolls from getting soggy.

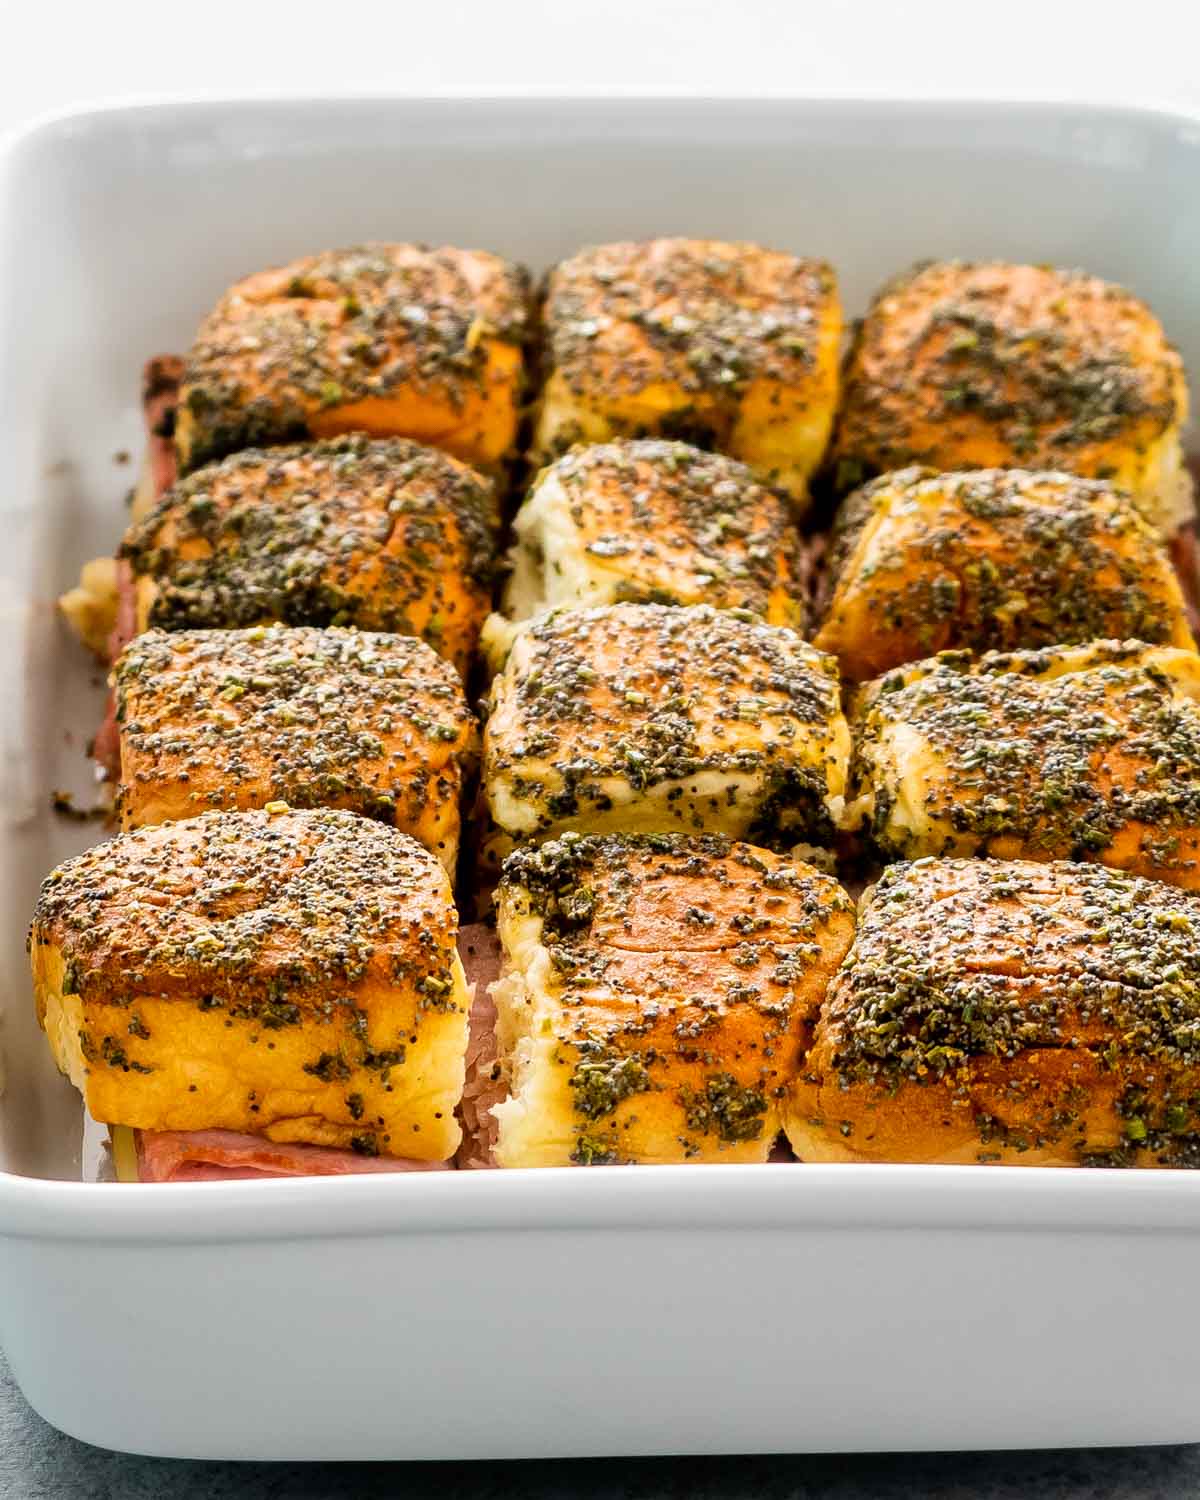
Generously brush ALL of that buttery glaze over the tops of the rolls. Go for it. If any drips down the sides, even better—it seeps into the edges and makes every bite even more delicious.

- Cover with foil and bake for 10 minutes in your 350°F (175°C) preheated oven —this lets the cheese melt without over-crisping the tops too soon.
- Uncover and bake for another 10 minutes until the tops are golden brown, crispy, and glistening with buttery goodness.
Pro Tip: If you want EXTRA crispiness, pop them under the broiler for 1-2 minutes at the end. Just keep an eye on them!

I know, I know—waiting is the hardest part. But let the sliders sit for 5 minutes before slicing. This helps the cheese settle, so it doesn’t completely ooze out when you cut into them. Trust me, totally worth it!
Finally, you can cut into individual sliders, serve immediately, and watch them disappear. These are best hot and fresh, straight from the oven. But if by some miracle you have leftovers, they reheat beautifully (air fryer, oven, or even a quick pan-toast!).
What to Serve with Ham & Cheese Sliders
These sliders are perfect on their own, but if you’re making them for a party, pair them with:

1 hour 15 minutes
Easy Coleslaw

30 minutes
Pigs In A Blanket

1 hour 25 minutes
Roasted Tomato Soup

25 minutes
Spinach Artichoke Dip In a Bread Bowl
Frequently Asked Questions
Can I make these ahead of time?
Yes! You can assemble the sliders a few hours ahead and keep them covered in the fridge. DON’T brush on the butter until just before baking—this keeps the buns from getting soggy. When you’re ready, just brush, bake, and serve!
How do I store leftovers?
If you somehow have leftovers (which, let’s be real, is rare), store them in an airtight container in the fridge for up to 3 days. They reheat beautifully—just pop them in the oven at 350°F (175°C) for 10 minutes or air fry at 350°F for 4-5 minutes to bring back that crispy, buttery top!
Can I freeze these sliders?
Absolutely! Here’s how:
Freezing unbaked sliders: Assemble everything except the butter topping, wrap tightly in plastic wrap + foil, and freeze for up to 3 months. When ready, thaw in the fridge overnight, brush with butter, and bake as usual.
Freezing baked sliders: Let them cool completely, wrap tightly, and freeze for up to 2 months. To reheat, bake at 350°F for 15 minutes or until warmed through.
What if I don’t have Hawaiian rolls?
You can use brioche slider buns or soft dinner rolls instead. The key is using a soft roll so it soaks up the buttery glaze without getting too crusty.
Can I make these without poppy seeds?
Of course! The poppy seeds add a classic texture and mild nuttiness, but if you don’t have them, just skip them or swap in sesame seeds.
Can I make these in the air fryer?
Yes! If you don’t want to heat up the oven, air fry at 350°F (175°C) for 5-7 minutes until the cheese is melted and the tops are golden brown. Just be sure to work in batches if needed!
Make These Tonight!
These Ham and Cheese Sliders are crispy, buttery, cheesy perfection—and they disappear fast. Whether it’s for game day, brunch, or an easy lunch, they never disappoint.
Make them, eat them, love them. Then tell me how fast they vanished! 😍👇

More Great Recipes To Try
Before You Begin! If you make this, please leave a review and rating letting us know how you liked this recipe! This helps our business thrive & continue providing free recipes.

Ham And Cheese Sliders
These Ham and Cheese Sliders are the ultimate crowd-pleaser! Soft Hawaiian rolls, layers of savory ham and melty Swiss cheese, all smothered in a garlicky, buttery poppy seed glaze and baked until golden and gooey. Ridiculously easy, ultra cheesy, and dangerously addictive! Perfect for parties, game day, or a quick lunch.
Prevent your screen from going dark
Before You Begin! If you make this, please leave a review and rating letting us know how you liked this recipe! This helps our business thrive & continue providing free recipes.
Instructions
-
Preheat the oven to 350°F. Spray a 9×13-inch baking dish with cooking spray. Use a baking dish that’s big enough to fit your buns.
-
To a small bowl, add the melted butter, mustard, garlic powder, poppy seeds, chives, Worcestershire sauce, salt, pepper and whisk until combined.
-
Do not pull the rolls apart. Using a serrated knife, slice the rolls in half horizontally. Place the bottom part in the prepared baking dish, cut side up.
-
Layer half the deli ham slices evenly over the buns. Next, layer all the cheese slices over the ham and top with remaining ham slices. Place the top of the buns over the sandwiches.
-
Brush the butter over the buns evenly, if there’s any leftover sauce just pour it over the buns evenly.
-
Cover the baking dish with aluminum foil and transfer it to the preheated oven. Bake for 10 minutes covered then remove the foil and bake for an additional 10 minutes uncovered.
-
Cut into individual sliders and serve.
Notes
- Best Rolls to Use: Hawaiian sweet rolls are the best for that perfect balance of soft + crispy.
- Make-Ahead Tip: Assemble the sliders but don’t add the butter topping until just before baking!
- Cheese Swaps: Swiss is classic, but cheddar, provolone, or gouda are all great options.
- Serving a crowd? Double the recipe and bake in two trays!
- Leftovers? Store in the fridge for up to 3 days and reheat in the oven or air fryer to bring back that crisp!
Nutrition Information
Serving: 1sandwichCalories: 305kcal (15%)Carbohydrates: 17g (6%)Protein: 17g (34%)Fat: 19g (29%)Saturated Fat: 10g (63%)Polyunsaturated Fat: 1gMonounsaturated Fat: 5gTrans Fat: 1gCholesterol: 64mg (21%)Sodium: 495mg (22%)Potassium: 117mg (3%)Fiber: 1g (4%)Sugar: 4g (4%)Vitamin A: 366IU (7%)Vitamin C: 1mg (1%)Calcium: 240mg (24%)Iron: 1mg (6%)
Notice: Nutrition is auto-calculated for your convenience. Where relevant, we recommend using your own nutrition calculations.


